Livefyre Comments system will replace your default Blogger comments with real-time conversations. Their social integration features make it easy to capture all the conversations going on about your posts across Twitter and Facebook, and pull your friends into the conversation. Livefyre’s centralized dashboard allows you to track and monitor every interaction on your site from one location, in real-time. Filter by comment, network or user, and moderate with ease. There are useful admin dashboard features such as spam protection, community flagging, edit comments, leave comment notes, multiple moderators, ban & whitelist users, profanity lists, moderation and conversation reports and more.
To Add Livefyre Comment System to Blogger, Follow the steps given below.
1. First visit Livefyre website:
http://www.livefyre.com/install/
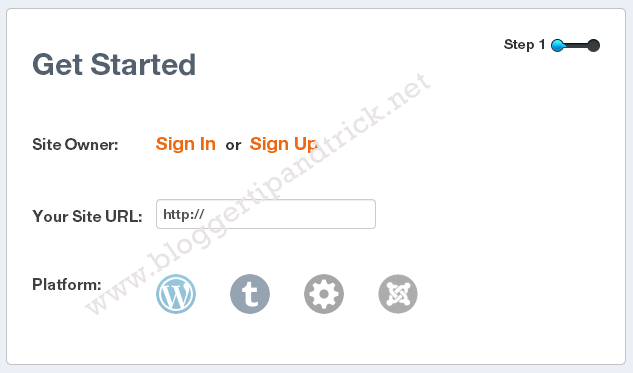
2. Click on "Sign Up".
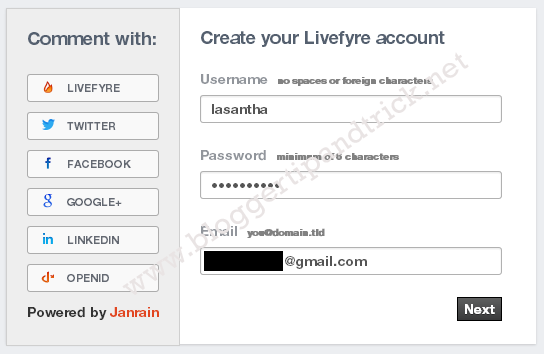
3. Add a Username, Password and and your Email address. Click "Next" button.
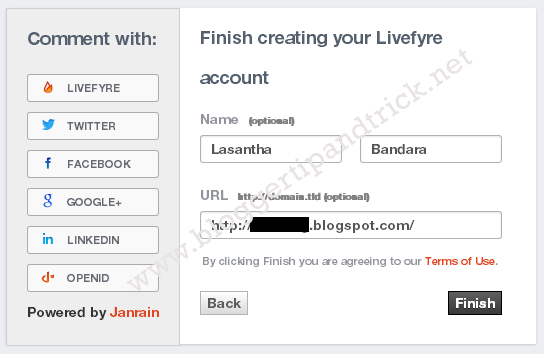
4. Provide your name and your blog URL. Click "Finish" button.
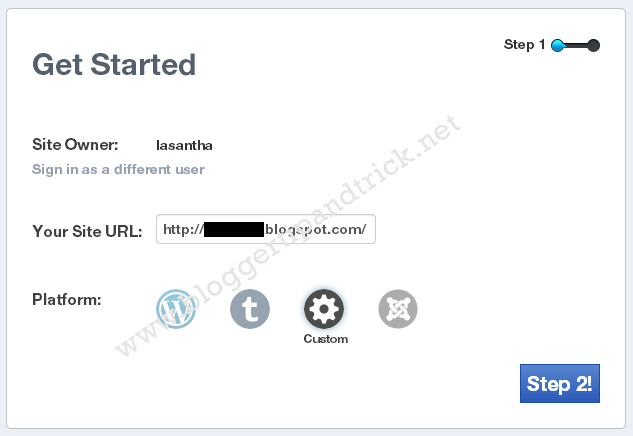
5. Now add your blog URL again and choose platform as "Custom". Now click on "Step 2!" button.
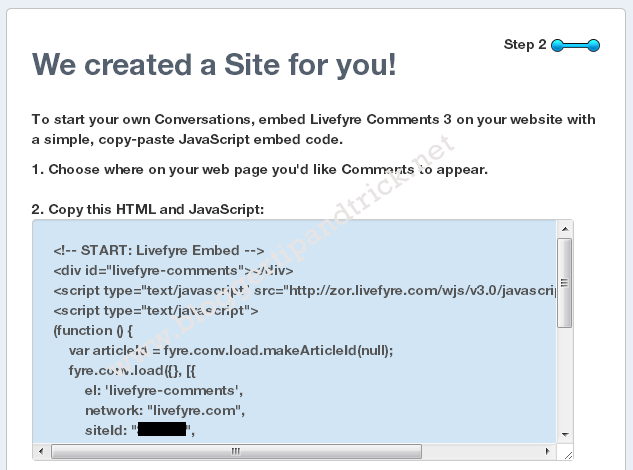
6. Now you can see Livefyre javascript code. Copy this code to somewhere for later use.
7. Go to your Blogger account. Go to "Template" of your blog. Click on "Edit HTML".
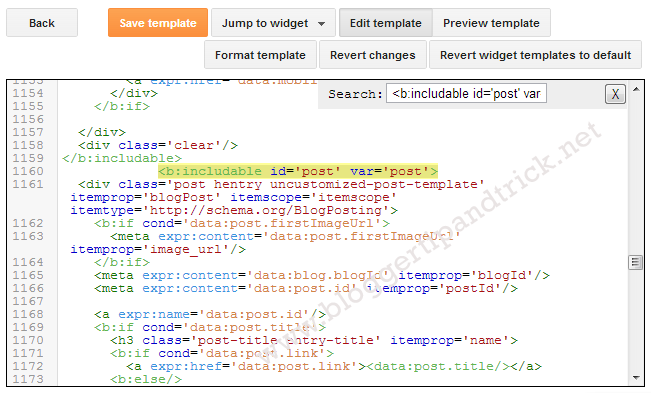
8. Find this:
<b:includable id='post' var='post'>
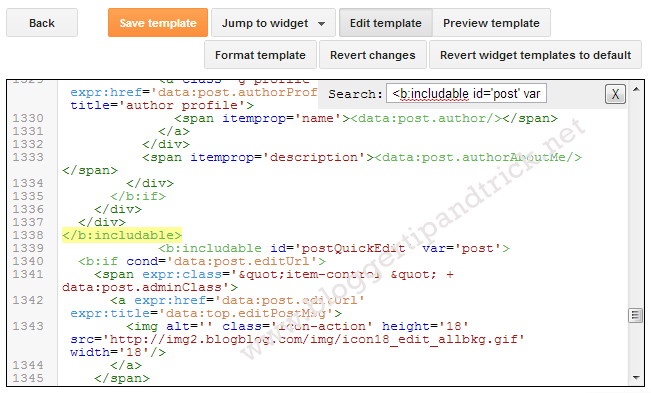
9. Now scroll down very slowly until you find this:
</b:includable>
10. Paste below code just before </b:includable>:
<b:if cond='data:blog.pageType == "item"'>
ENTER-LIVEFYRE-COMMENTS-CODE-HERE
</b:if>
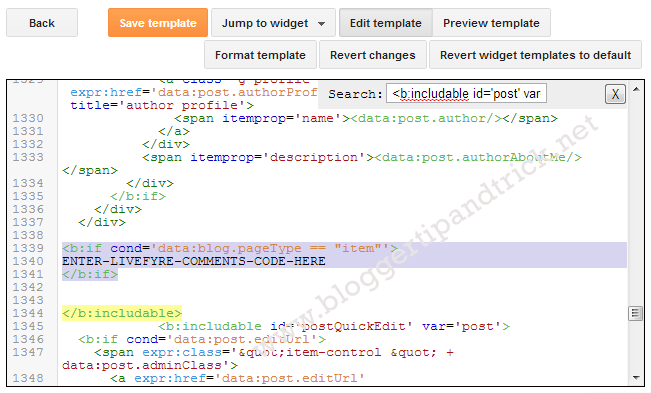
11. Replace "ENTER-LIVEFYRE-COMMENTS-CODE-HERE" with real Livefyre comment code we copied in Step 6.
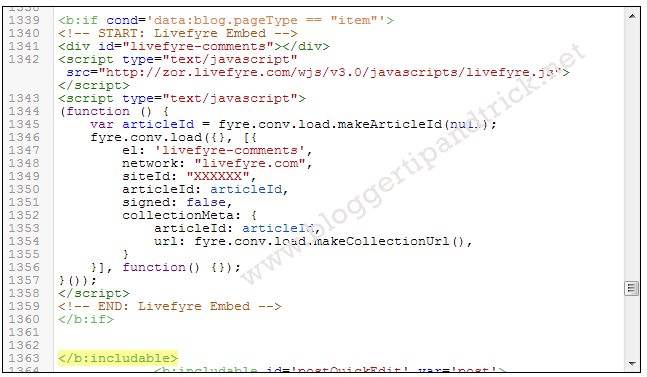
12. Save your template and refresh a post page of your blog. You can see Livefyre comment box just above your Blogger comment box.
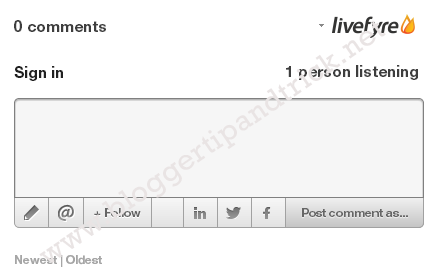
If you need to hide Blogger default comment box, go to Settings › Posts and comments. Choose "Comment Location" as "Hide".

Save your settings.
You Might Also Like These:
Nice article, very useful for me